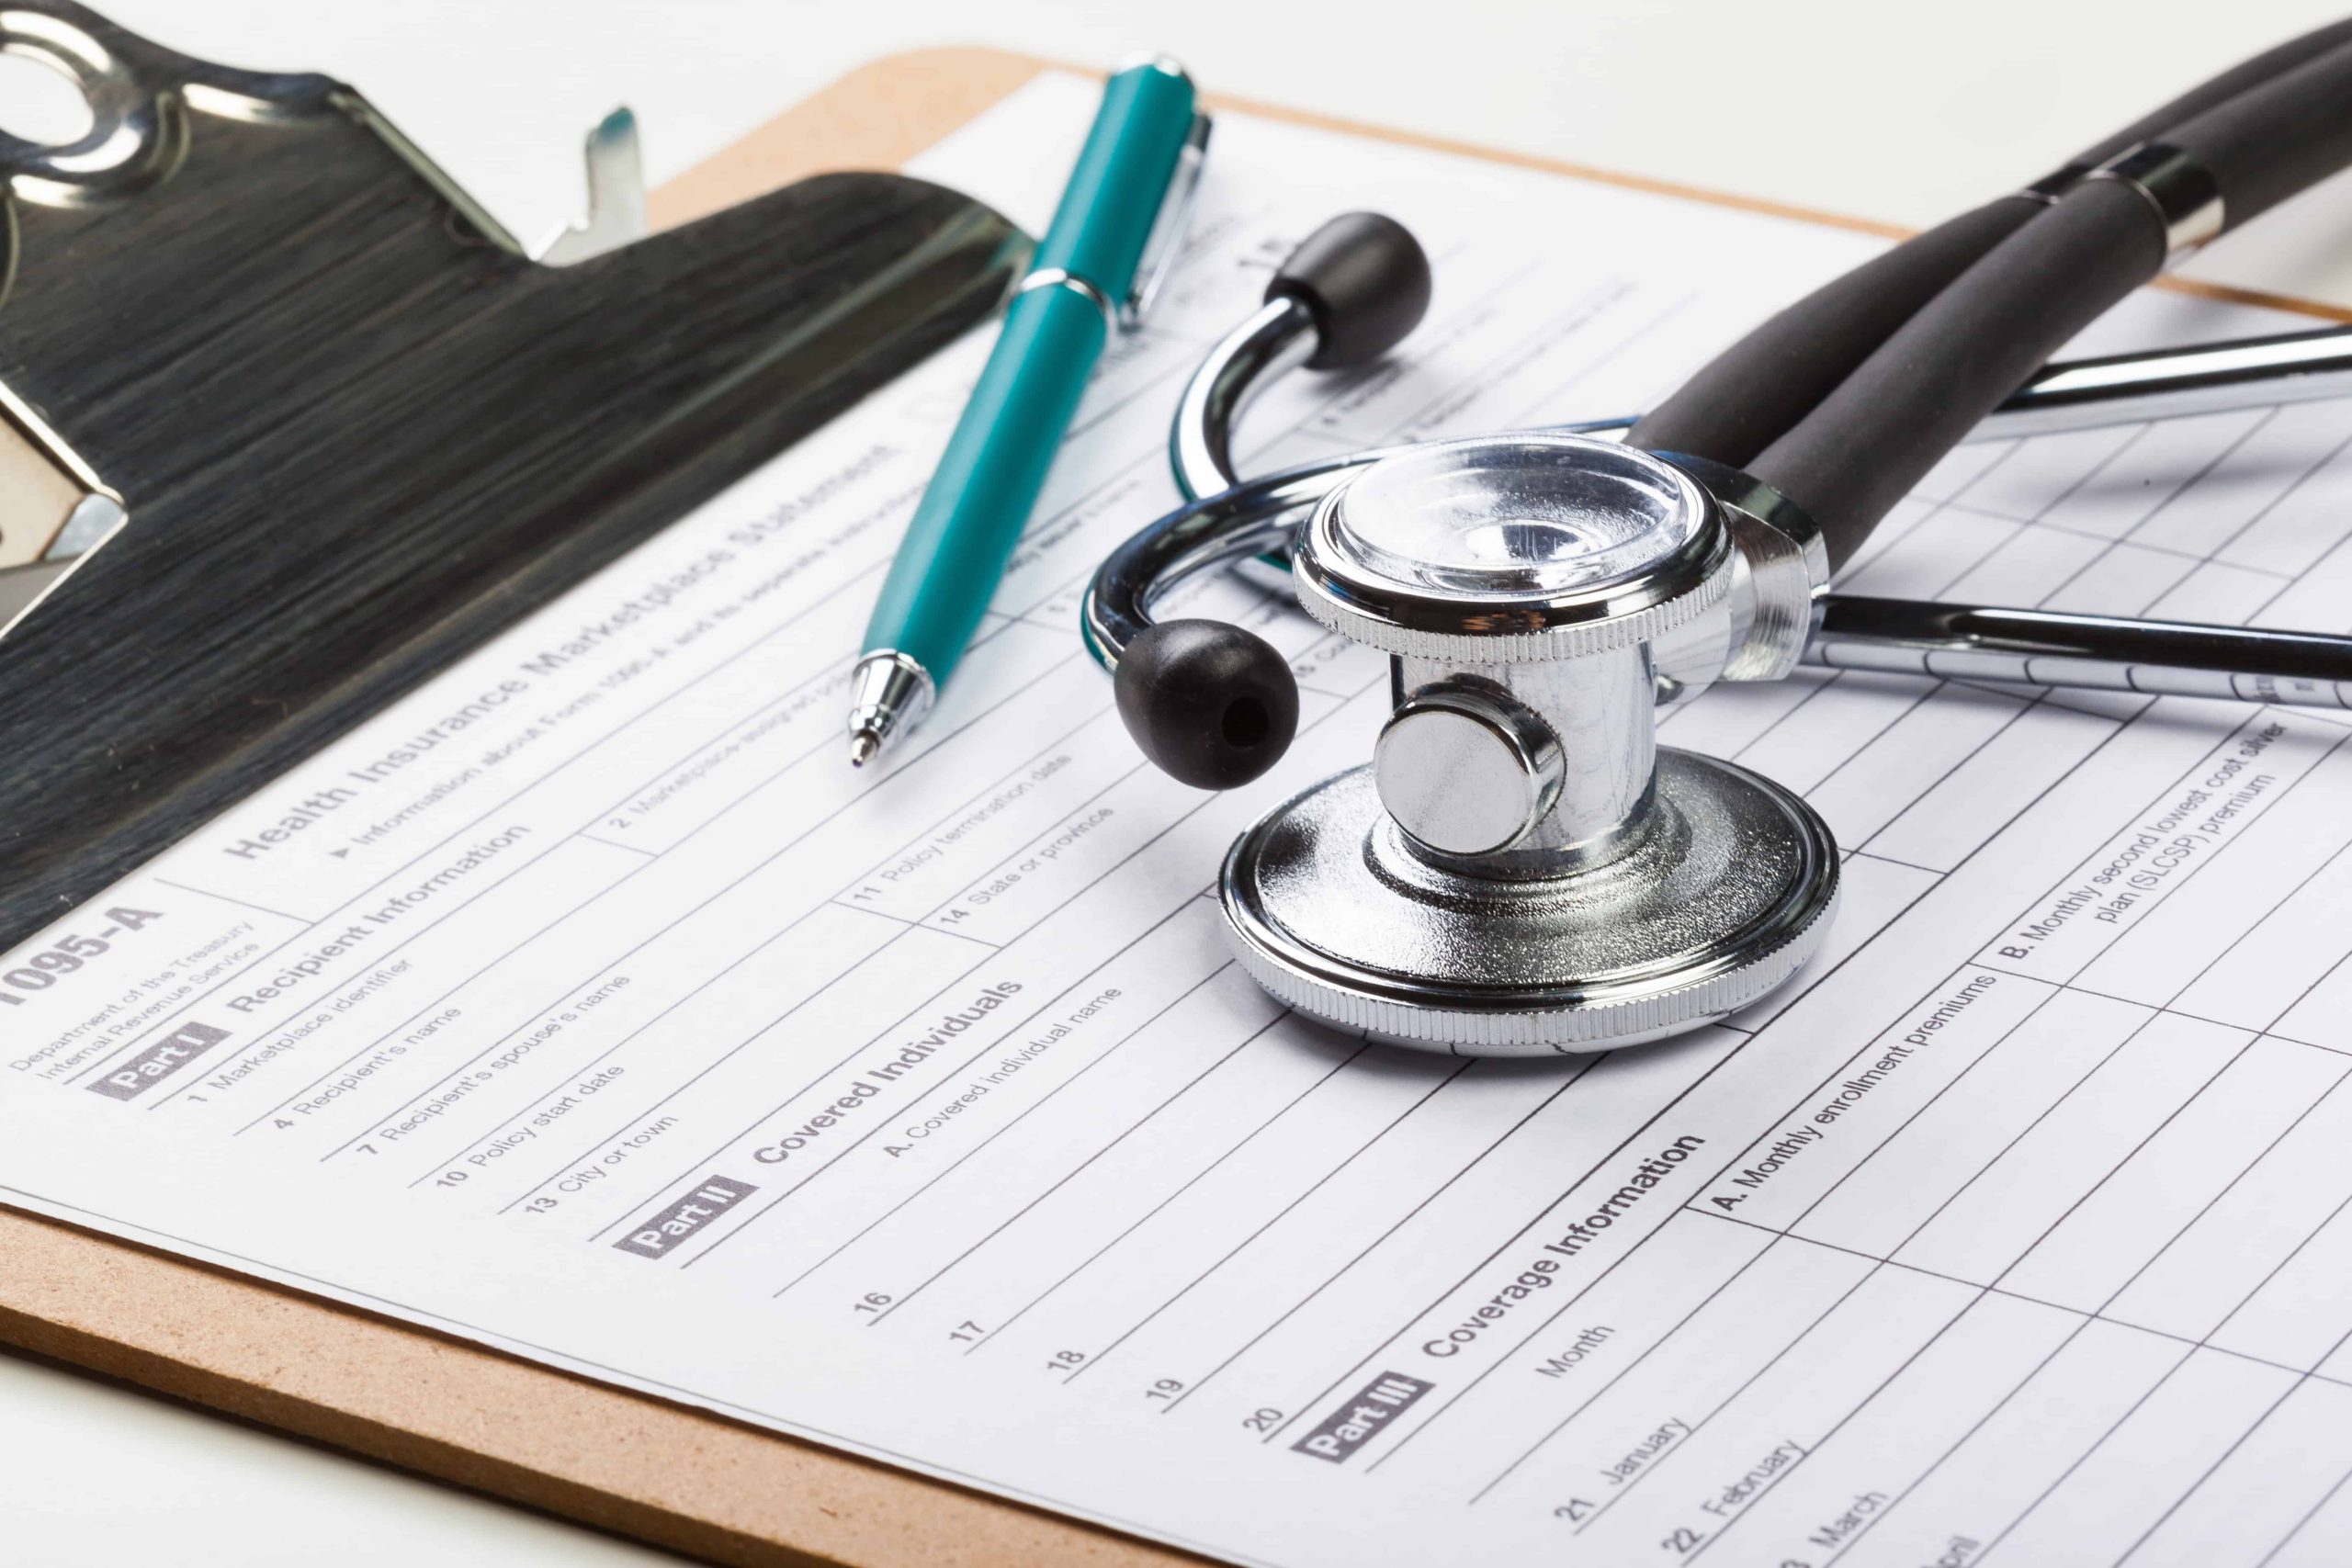


Filing a health insurance claim can feel overwhelming, especially if you have multiple documents, medical bills, and receipts to manage. One of the most important steps in ensuring timely approval and reimbursement is organizing your claim papers effectively. Proper organization not only speeds up processing but also reduces the risk of errors, delays, or denials.
This guide provides practical tips for organizing your claim papers for approval in 2026.
1. Start With a Checklist
Before gathering your documents, create a checklist of everything you need. A typical health insurance claim may require:
- Personal and insurance information
- Provider details and tax ID numbers
- Itemized bills and receipts
- Explanation of Benefits (EOB)
- Medical records, lab results, or test reports
- Prescriptions and pharmacy receipts
- Prior authorization or referral documents
- Completed claim form
Having a checklist ensures that you don’t miss any essential documentation, which is a common reason for claim delays or denials.
2. Keep Personal and Insurance Information Together
Your personal and insurance details are the foundation of your claim. Include:
- Full name, address, and contact information
- Policy or member ID number
- Group number, if applicable
- Dates of birth for all covered individuals
- Social Security number, if required
Store this information in a separate folder or section of your claim packet so it’s easy for the insurer to verify your identity and policy coverage.
3. Organize Provider and Billing Information
Next, group all documents related to your healthcare provider and billing:
- Provider’s name, address, and contact details
- National Provider Identifier (NPI) or tax ID
- Itemized medical bills with CPT or HCPCS codes
- Dates of service and charges
Arrange bills chronologically and clearly label each item. This helps insurance reviewers understand the timeline of services and speeds up approval.
4. Include Explanation of Benefits (EOB)
If you’ve already submitted claims through your provider, include EOBs to show payments and any remaining balances. Organize them with the corresponding bills to avoid confusion.
Tip: Highlight the amounts already covered versus what you are claiming to make the process clear for the reviewer.
5. Gather Medical Records and Supporting Documentation
For services requiring justification, include medical documentation such as:
- Doctor’s notes explaining treatment or procedures
- Test results and lab reports
- Referral letters or prior authorization approvals
Organize these documents by date of service and attach them to the corresponding bill. Clearly labeling each document (e.g., “Lab Results – 03/12/2026”) makes it easy for insurance reviewers to match documents to the claim.
6. Keep Prescription and Pharmacy Records Separate
For prescription claims, include:
- Original prescription
- Pharmacy receipts with NDC codes
- Quantity and dates dispensed
Group all prescription-related documents together and ensure they reference the correct patient and date of service.
7. Use a Claim Form Cover Sheet
Many insurers require a claim form or submission sheet. Use it as a cover sheet for your organized packet. Include:
- Your personal and insurance information
- Claim numbers, if applicable
- A checklist of attached documents
This helps the reviewer see at a glance that all necessary documents are included.
8. Label and Number Each Document
Labeling and numbering your documents makes your submission easier to navigate:
- Use sticky tabs or numbered sheets
- Reference numbers on your cover sheet
- Color-coding by document type (bills, prescriptions, medical records)
Clear labeling reduces the chance of lost paperwork and speeds up the review process.
9. Make Copies and Keep Records
Always make copies of every document before submission. Keep a file for your records, including:
- Original bills and receipts
- Submitted forms and attachments
- Correspondence with your provider or insurer
These copies serve as evidence in case of discrepancies or the need to appeal a denied claim.
10. Submit Electronically if Possible
Electronic submissions are faster and less prone to errors than mailing paper documents. Many insurers provide online portals where you can upload:
- Scanned bills and receipts
- PDFs of medical records
- Claim forms
Even if submitting electronically, keep a digital folder with organized copies for your records.
Conclusion
Organizing your health insurance claim papers properly is key to ensuring approval and timely reimbursement. Start with a checklist, group documents logically by type and date, label and number each piece, and include supporting evidence such as medical records, prescriptions, and EOBs. Making copies and keeping detailed records adds an extra layer of protection.
By following these steps, you make it easier for insurance reviewers to process your claim, reduce delays, and increase the likelihood of approval. Staying organized and proactive ensures that your health insurance works efficiently in 2026, giving you peace of mind and financial protection.